On 2002-’07 CR-Vs with 4WD, a moaning or groaning noise may come from the rear differential when making a sharp or tight turn at low speeds.
Probable Cause:
Contamination in the rear differential fluid.
Corrective Action:
Replace the rear differential fluid, and burnish the rear differential clutches.
Required Materials:
Honda Dual Pump System Fluid II:
P/N 08200-9007.
• 2002-’04 models: 1.1 quarts per vehicle per replacement (2.2 quarts total).
• 2005-’07 models: 1.3 quarts per vehicle per replacement (2.6 quarts total).
Repair Procedure: 2002-’04 Models
1. To replace the rear differential fluid:
• Refer to page 15-13 of the 2002-’04 OH-V Service Manual, or
• Online, enter keywords REAR DIFF, and select Rear Differential Fluid Inspection and Replacement (4WD) from the list.
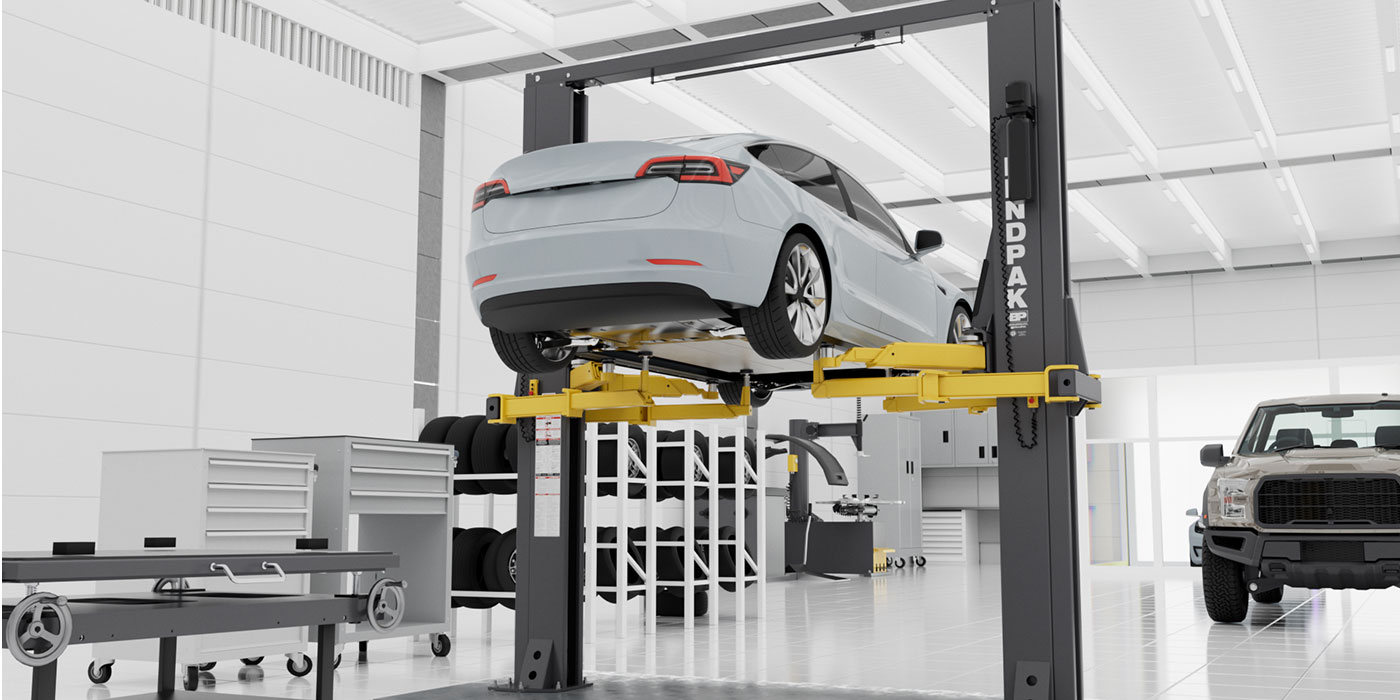
2. Raise the vehicle on a lift until all four wheels are completely off the ground and can rotate freely.
3. Start the engine and let it idle until the radiator fan cycles on and off twice.
4. Burnish the rear differential clutches:
Automatic Transmission Models:
• Set the parking brake and shift the transmission to D. Let the engine idle for five minutes.
• With the shift lever in D, release the parking brake, keep the wheel speed at 10 mph, and let all four wheels rotate freely for five minutes.
• Apply the brakes to stop the wheels, repeat the bulleted steps one more time, then go to step 5.
Manual Transmission Models:
• With the engine idling and the parking brake released, shift the transmission into 1st, release the clutch, and let the wheels rotate for five minutes.
• Disengage the clutch and apply the brakes to stop the wheels. Shift the transmission into reverse, release the clutch and let the wheels rotate for five minutes.
• Shift the transmission into neutral, then apply the brakes to stop the wheels.
• Repeat the bulleted steps and then go to step 5.
5. Shift the transmission to P (A/T) or neutral (M/T), and turn off the engine.
6. Let the rear differential cool for 10 minutes.
7. To replace the rear differential fluid:
• Refer to page 15-13 of the service manual, or
• Online, enter keywords REAR DIFF and select Rear Differential Fluid Inspection and Replacement (4WD) from the list.
8. To confirm the repair, test-drive the vehicle for two miles, making as many turns as possible (at least 20). If the noise is still there, repeat steps 2 through 8.
Repair Procedure: 2005-’07 Models
1. To replace the rear differential fluid:
• Refer to the Rear Differential section of the appropriate service manual, or
• Online, enter keywords REAR DIFF, and select Rear Differential Fluid Inspection and Replacement (4WD) from the list.
2. Raise the vehicle on a lift until all four wheels are completely off the ground and can rotate freely.
3. Start the engine and let it idle until the radiator fan cycles on and off twice.
4. Turn off the VSA.
5. Burnish the rear differential clutches:
Automatic Transmission Models:
• Set the parking brake and shift the transmission to R. Let the engine idle for 5 minutes.
• Shift the transmission to D. Release the parking brake, and keep the wheel speed at 10 mph for five minutes.
• Apply the brakes to stop the wheels, repeat the bulleted steps one more time, then go to step 6.
Manual Transmission Models:
• With the engine idling and the parking brake released, shift the transmission into 1st, release the clutch, then keep the wheel speed at 20 mph for five minutes.
• Disengage the clutch, and apply the brakes to stop the wheels. Shift the transmission into reverse, release the clutch, then keep the wheel speed at 10 mph for five minutes.
• Shift the transmission into neutral, then apply the brakes to stop the wheels.
• Repeat the bulleted steps and then go to step 6.
6. Shift the transmission to P (A/T) or neutral (M/T), and turn off the engine.
7. Let the rear differential cool for 10 minutes.
8. To replace the rear differential fluid:
• Refer to the Rear Differential section of the appropriate service manual, or
• Online, enter keywords REAR DIFF and select Rear Differential Fluid Inspection and Replacement (4WD) from the list.
9. To confirm the repair, test-drive the vehicle for two miles, making as many turns as possible (at least 20). If the noise is still there, repeat steps 2 through 9.
Technical service bulletin courtesy of ALLDATA.
For additional information, visit www.alldata.com.

