 So many manufacturers are now running the brake lights through BCMs, Integrated Power Modules, bulb detection systems, or the anti-lock brakes. Along with just about every other system in today’s cars, computers are doing a lot of the work for us.
Diagnosing a simple inoperative brake light problem takes on a whole new aspect than before. This article will cover some of the basic testing procedures that I use on a daily basis to determine the location and how to repair a brake light wiring problem.
CONNECTIONS
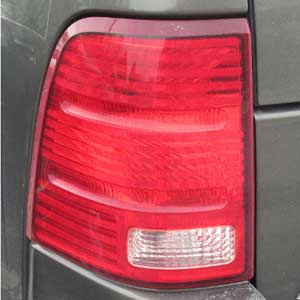
Connections are probably the number one problem I find with the exterior lights. Usually brought on by cracked lenses, moisture in the housing or poor socket sealing. These poor connections can actually compound even more problems with other connections in the systems. A perfect example is the IPM unit (Integrated Power Module) on Chrysler products. The leads are tiny and the internal connections in the module are just strong enough to handle a certain amount of abuse. Increasing the amperage flow can also heat up those connections and add to a premature failure of the IPM.
 With most of these modules, there is no external repair, only replace, and this also means that some programming will need to be done before the vehicle will restart (theft system for example). Among the obvious problems with brake lights, there is always the issue of something that has been added onto the vehicle, such as trailer lights, extra brake lights, or some sort of added on gizmo to the rear of the car or truck. Today’s wiring is designed to handle the load requirements for lighting as it originally was equipped from the manufacturer and not any added on systems. Most trucks these days have separate relays and fuse for trailer wiring.
HOW TO DIAGNOSE
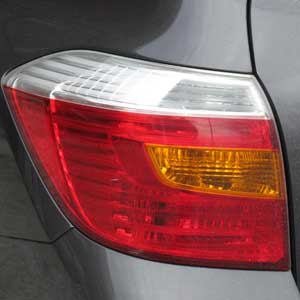
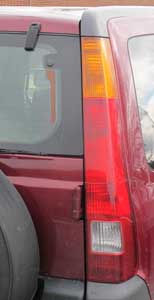
Diagnosing brake lights starts with determining which type of brake light system is on the vehicle. A wiring diagram is a good place to start, but walking by the rear of the vehicle will give you some idea of how it is wired in. If there are amber turn signal lenses as well as red lenses, the turn signals and the brake lights are separated. After finding the exterior lighting section, find the rear taillight wiring and follow it back to the brake switch. If there is no direct line from bulb to switch, you’re more than likely going to be encountering a bulb check module or some other form of computer device that the brake switch is feeding rather than directly to the blubs.
EXAMPLES
• 2000 Toyota Sienna – The brake lights are direct from the switch to the bulbs, and uses separate bulbs for the turn signals.
• 2000 Toyota Camry – The brake lights start at the switch, but go through a light failure module before getting to the brake light bulbs.
• 2000 Dodge R1500 pickup – The brake lights go through the turn signal switch, but the high mount (3rd brake light) is wired directly to the bulb. (The turn signal switch could be faulty, but you would still have a single high mount brake light.)
 Starting with the lens area first is usually a good idea. Look for those cracked lenses, moisture or faulty connections. Over my many years of repairing these problems, I generally can find the problem in what I call no more than “elbow deep,” meaning, most problems are usually only as far as someone can usually easily reach.
I use a test light to check for voltage and ground (I know … old school). I use an adjustable hood prop to hold the brake pedal down for me while I run to the back and check the lights. If there is no ground or voltage, consult the wiring diagram to determine where either of them come from and check there next.
Generally, the problem with brake lights tends to be on either end of the system rather than in the middle of a harness. Unless there are issues with a previous collision or water damage, I hardly ever find a problem in the harness. Once in a great while, you might find a scuffed wire where the driver puts their feet or a pinched wire under a back seat. It does happen, but very, very seldom. Occasionally, I’ll find the lighting modules have burned out or a BCM is faulty, but it’s not as common as the usual“elbow deep” repairs.
COMMON PROBLEMS
One of the more common problems is with the systems that use the separate turn and brake systems. I’ll generally check to see if the customer is using a trailer hitch and if so more than likely they have a trailer module (usually called a splitter) mounted under the vehicle or behind a lens. These units (available at most parts stores) recombine the brake and turn signals into one bulb which will allow a standard trailer wiring to be used. After a few years, the constant brake light and turn signal usage can overheat the unit and eventually cause a fuse to blow or in some way disrupt the signal path from switch to bulb.
 When it comes to the BCM or lighting module systems that control the brake lights, I find the best thing to do is make sure the proper signals are going into the module and check the signal coming out. This is where a good wiring diagram that is clearly marked is of great importance.
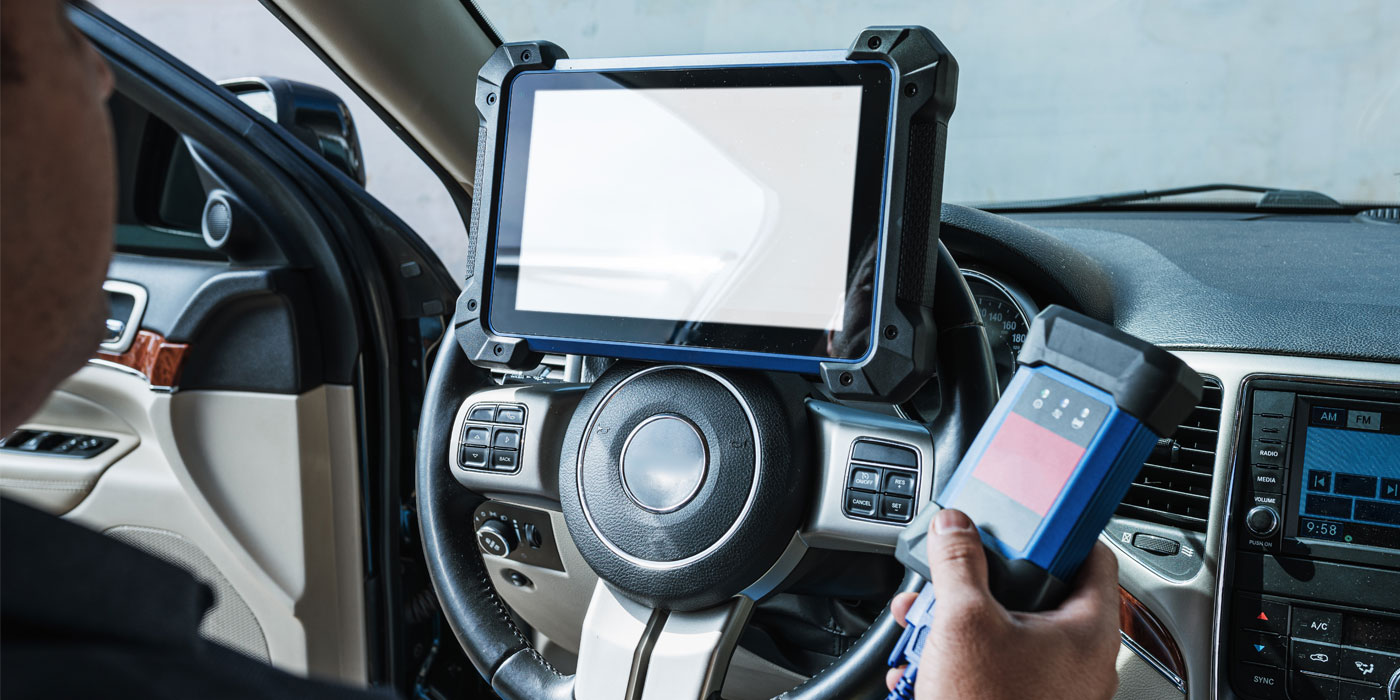
On some models (if applicable), you can initiate a signal with a scanner to test the exterior lights and you can also observe the brake on/off signal on the screen. It’s not a complete answer, but might save you from doing the old headstand under the dash. I know, I’ll take advantage of that every time I can. (I don’t know about you, but I’ve found that bifocals don’t work really well when you’re upside down under a dash.)
Another common problem is the disappearing brake lights. Your customer tells you that when they put their foot on the brake, the park lights go out, or they see the dash lights come on with the brake pedal depressed. This is nothing more than a feedback from the brake light signal and the park light bulb filament. The most likely cause of the problem is a faulty ground lead either at the bulb sockets or to the rear light fixtures. These bad grounds can also change the current draw and resistance level that the bulb failure modules use to determine if a bulb is bad. In some cases, even the bulb failure could be illuminated on in the dash. Once in awhile somehow-someway somebody jams the wrong type of bulb in a socket and the same thing can happen.
Keep in mind the brake light switch has a lot more functions than just the brake lights. Everything from controlling the cruise control, deactivating the TCC solenoid (Torque converter lockup), releasing the emergency brake, and operating the shift interlock system. So when it comes to diagnosing the brake lights … take a little break and study the schematics, examine which type of brake light wiring you’re looking at, and you should be good to go.