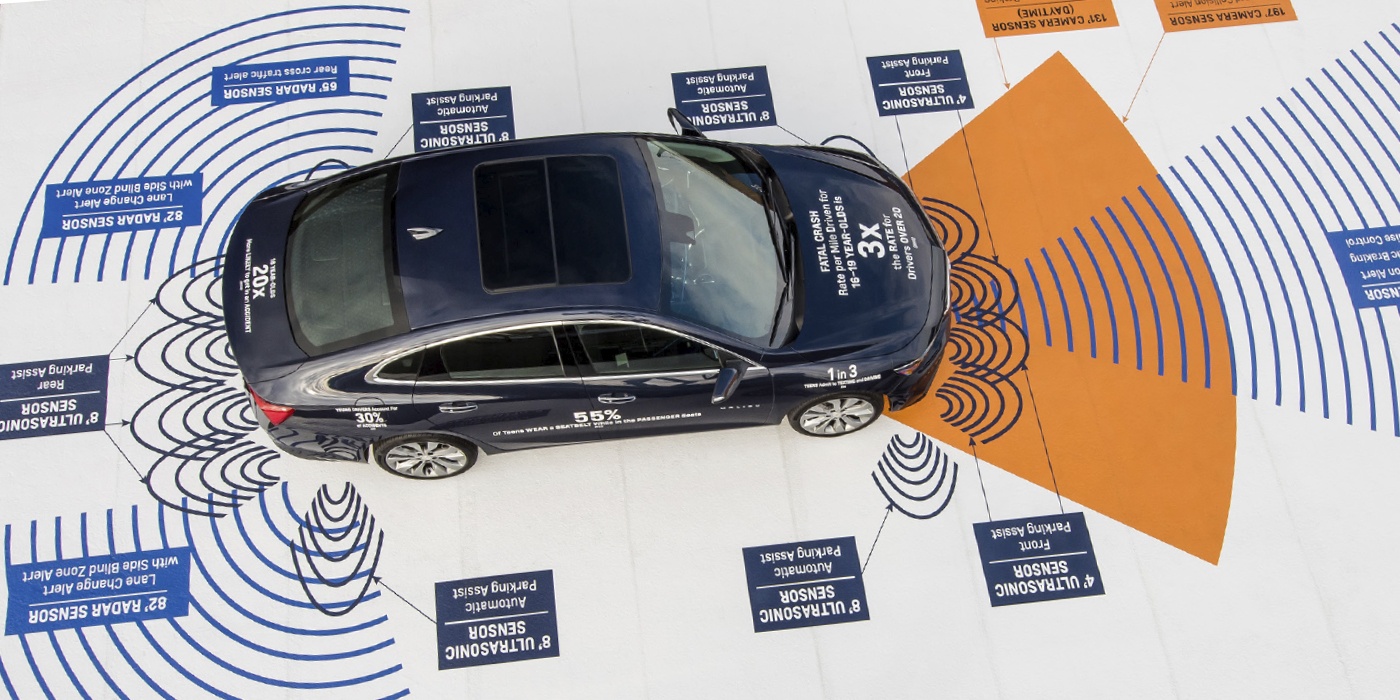
Millimeters Matter
When you set up a target or fixture for a camera or radar, the position and distance from the vehicle are critical to the performance and operation of the system. If the target or fixture is a few millimeters off when placed a few meters from the sensor, it can change the alignment of the sensor by meters when it is pointed down the road or the vehicle’s height is in the blind spot.
Check Tire Pressure
Checking or setting the tire pressure is typically the second or third item on the procedures list for an ADAS calibration procedure. If a single tire is underinflated, it can change the vehicle’s stance and the relationship between the camera and radar sensors.
Do the Test Drive
Many ADAS features do not become active until the vehicle reaches a specific speed. Depending on the OEM, pre-collision systems might start working between 5-10 mph. Lane departure might not begin to work until above 25 mph. The takeaway from this is that a test drive is required before calibration is performed. Simply pulling out of the bay and parking the vehicle in a spot will not allow the vehicle to activate or run a self-diagnosis routine.
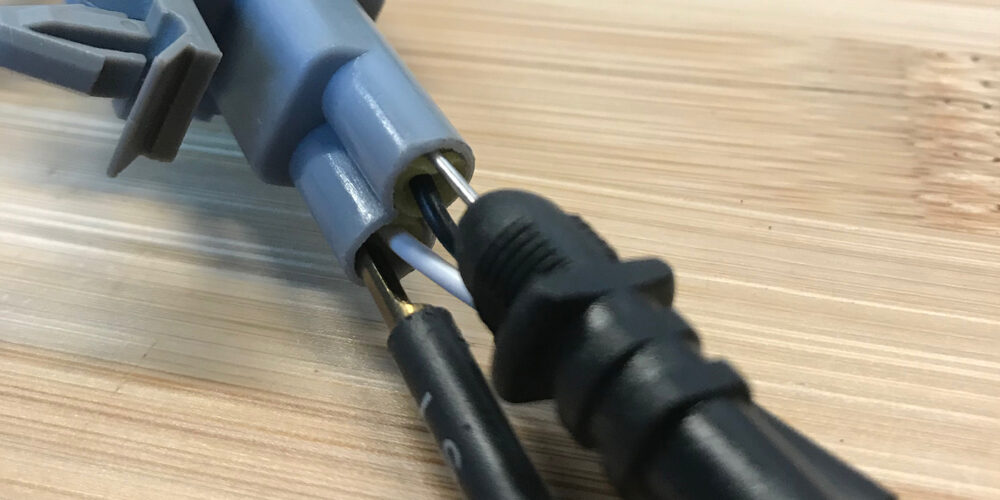
You Might Have to Remove the Bumper Cover
Before you attempt to calibrate, look at the adjustment process for the forward radar sensors. Some OEMs make accessing the adjustments easy with removable panels and cutouts. Other manufacturers want the bumper cover removed to reach the adjusting mechanisms. Looking up the adjustment procedures can save you time in the calibration bay and a possible misalignment.
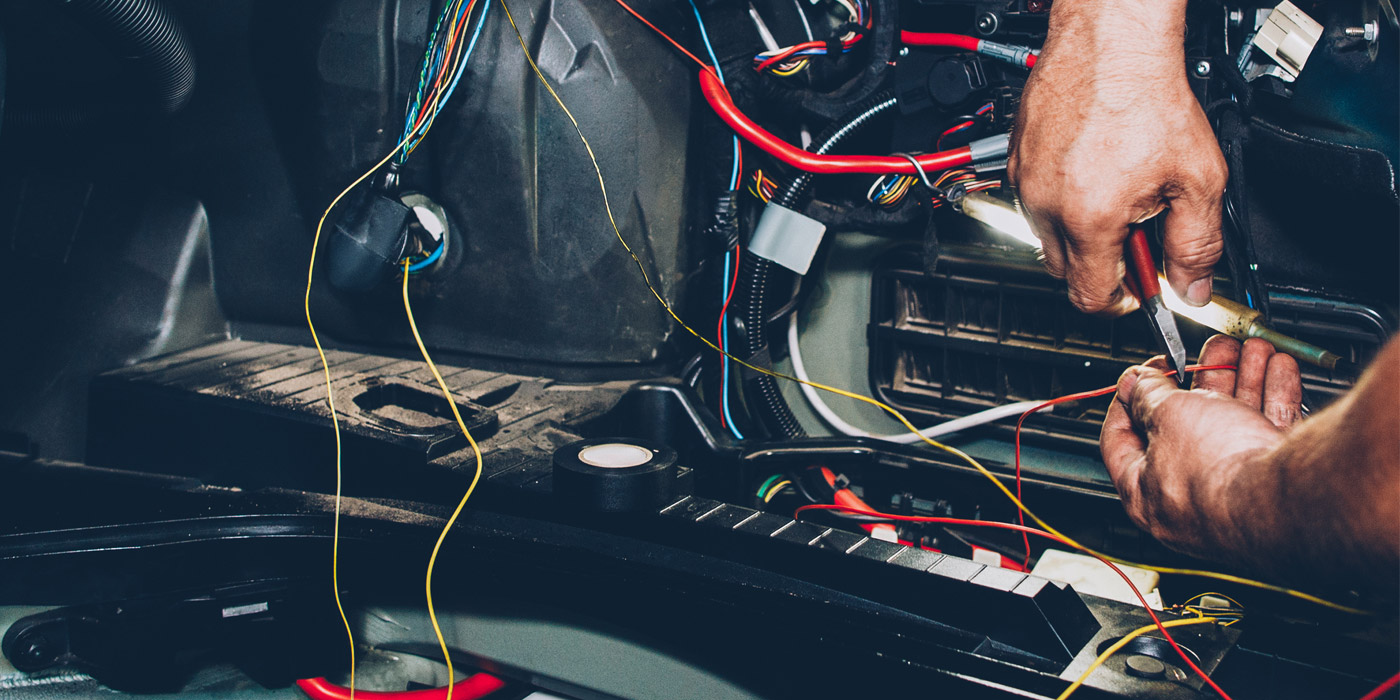
Bumper Covers Hide Damage
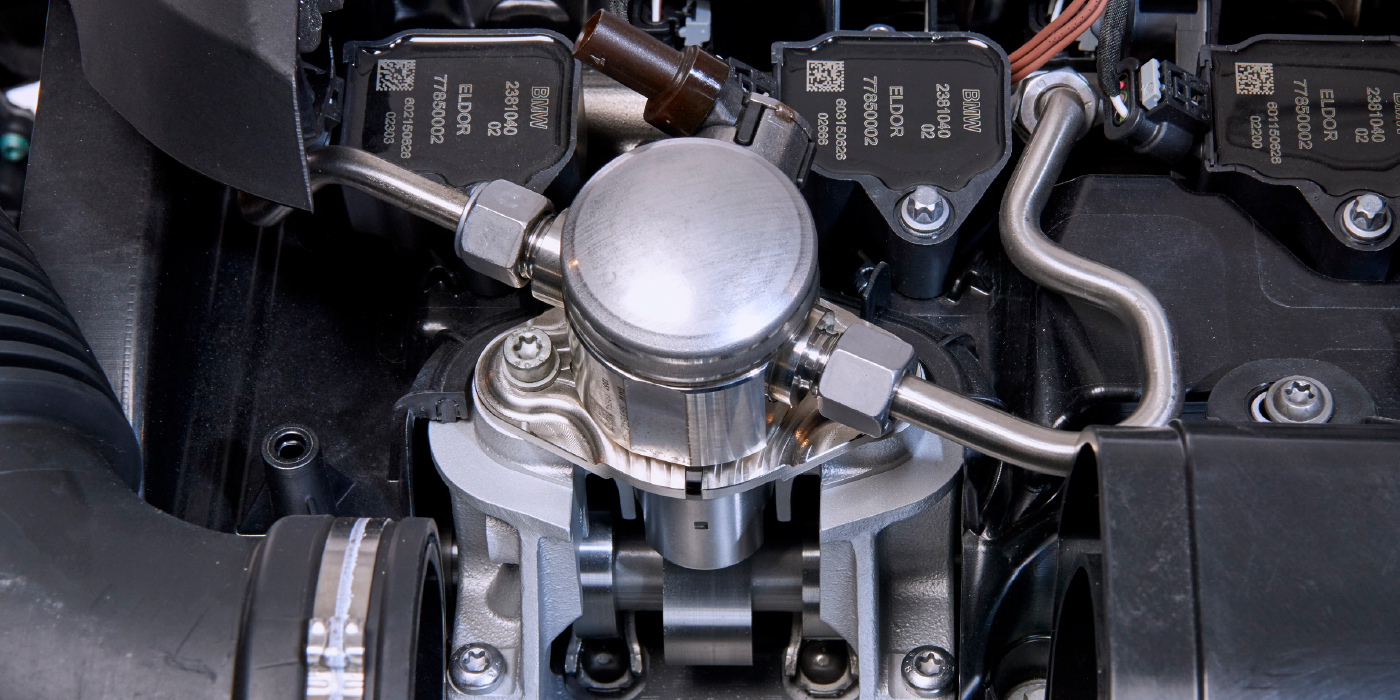
The front crash structure and forward radar sensors are mounted behind a bumper cover. The thin layer of plastic and paint are very resilient and can hide much damage to the structure and sensor below. Always take scuffs and slight cosmetic damage to the bumper cover seriously before a calibration or diagnostic procedure.
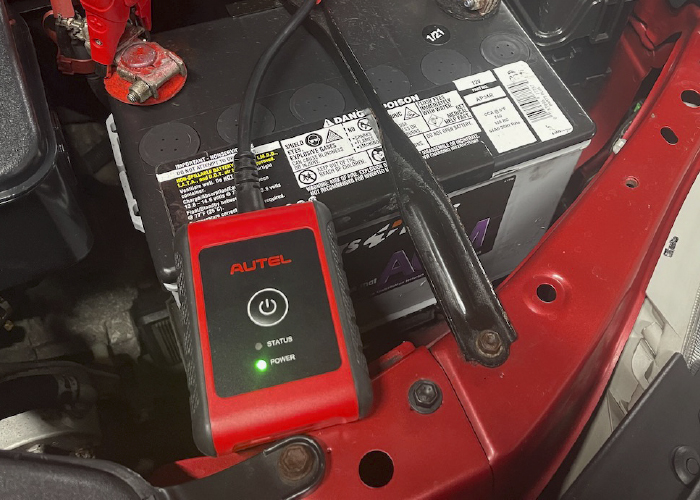
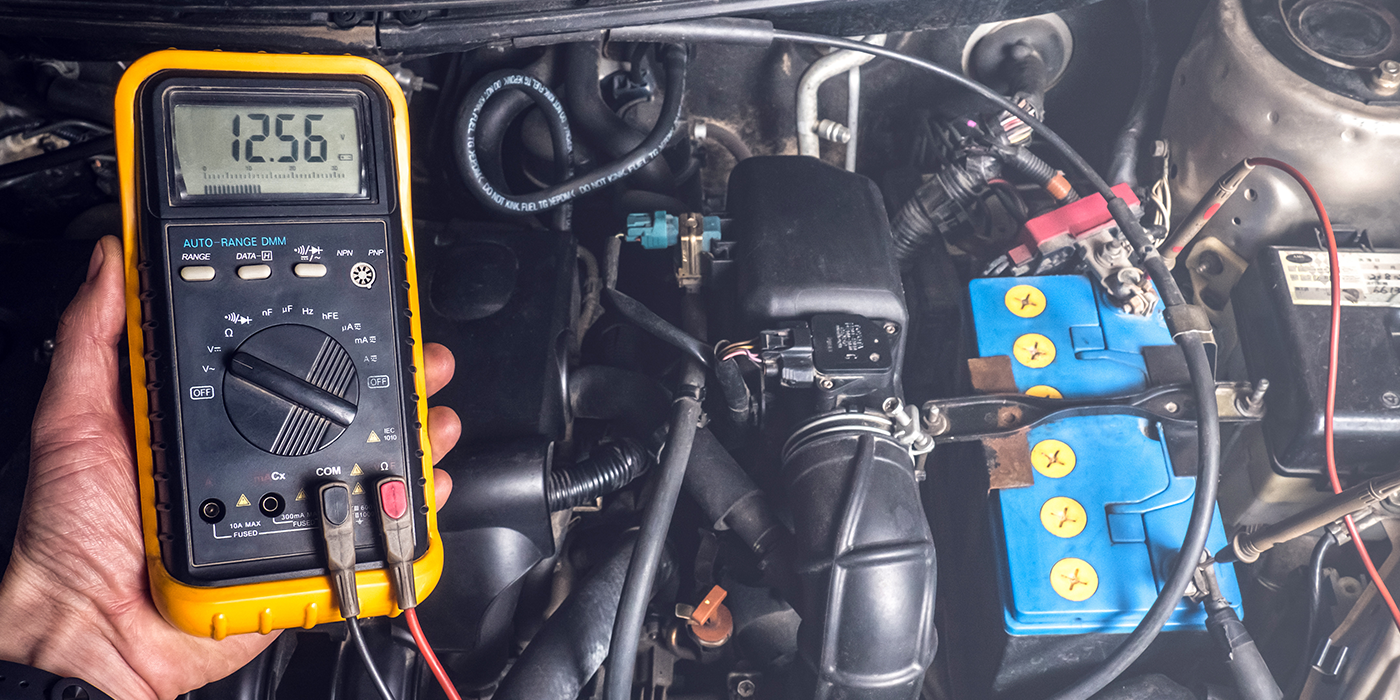
Check the Battery
If the battery can’t keep the system voltage in a specific range during the calibration procedure, it will be aborted. Before you start, check the health of the battery with a tester, or you can use a power supply.
Clean the Sensors
Excessive dirt can obstruct camera and radar sensors. Cleaning the sensors off can often resolve deactivation and calibration problems. If you live in a winter state, snow and salt are the natural enemies of any ADAS sensor.
Know the Options
Before you start any ADAS calibration, look to see what ADAS features are even on the vehicle. In some cases, ADAS systems and features could be optional equipment. There is no sense in trying to calibrate a sensor that is not there. You can check the active safety features using the NHTSA website and the VIN.
Confirm the Problem
Always go for a test drive to confirm the symptoms and the customer complaint. Many driver complaints result from not being familiar with how the system operates. Another common problem happens when someone changes the following distance or a guest driver turns off an ADAS system. Many drivers do not understand that proper road marking is required for the system to work.
Let Codes Resolve on Their Own
A great piece of advice is not to erase codes to see if they come back. Sometimes, you are better off correcting the problem and letting the code go away on the test drive after a repair. Many of the codes will reset in one key cycle or on the test drive.