The Hippocratic Oath states a doctor shall “do no harm.” The technician’s oath is the same, but that we “do no harm” to a vehicle we are trying to diagnose or repair. This oath has become more difficult to follow as vehicles have become more complex.
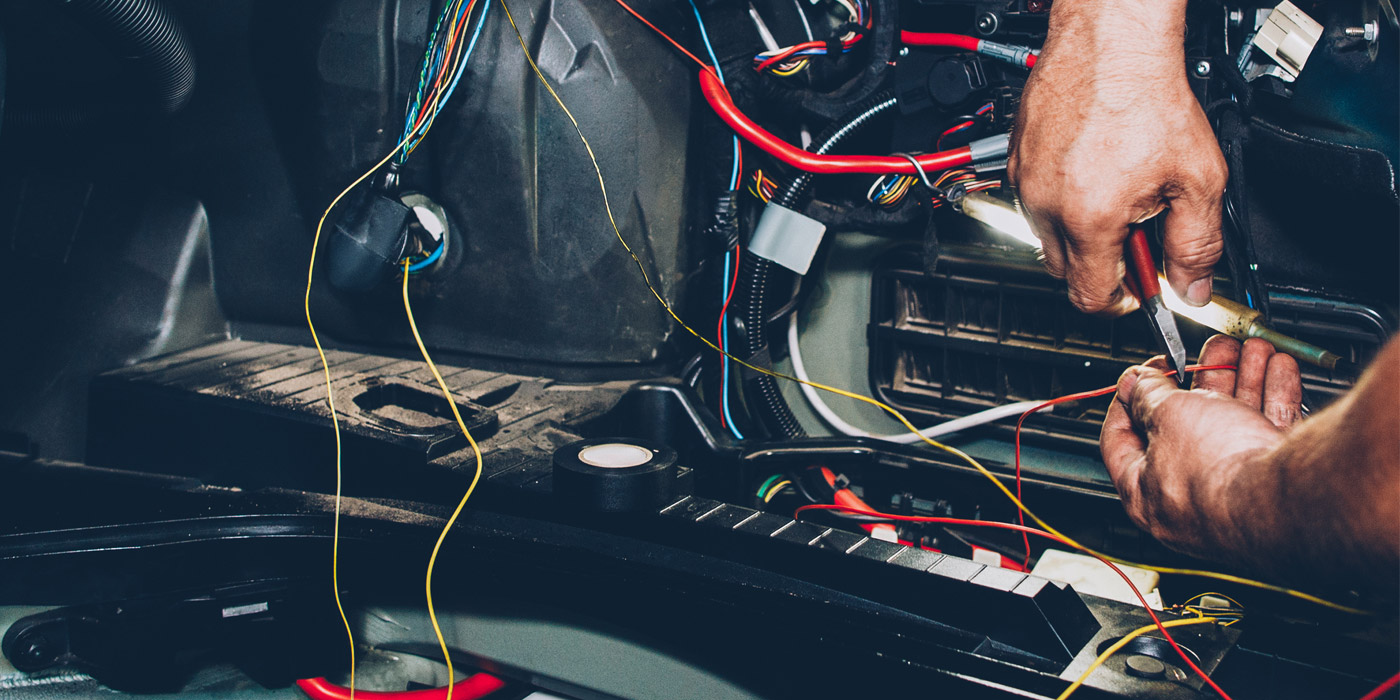
One of the most controversial topics among technicians is the probing and piercing of wires and connectors. Some technicians curse t-pins and piercing probes claiming they can damage a wiring harness. On the other end of the spectrum are technicians who have zero problems stuffing a blunt multimeter lead into a connector for an ECM.
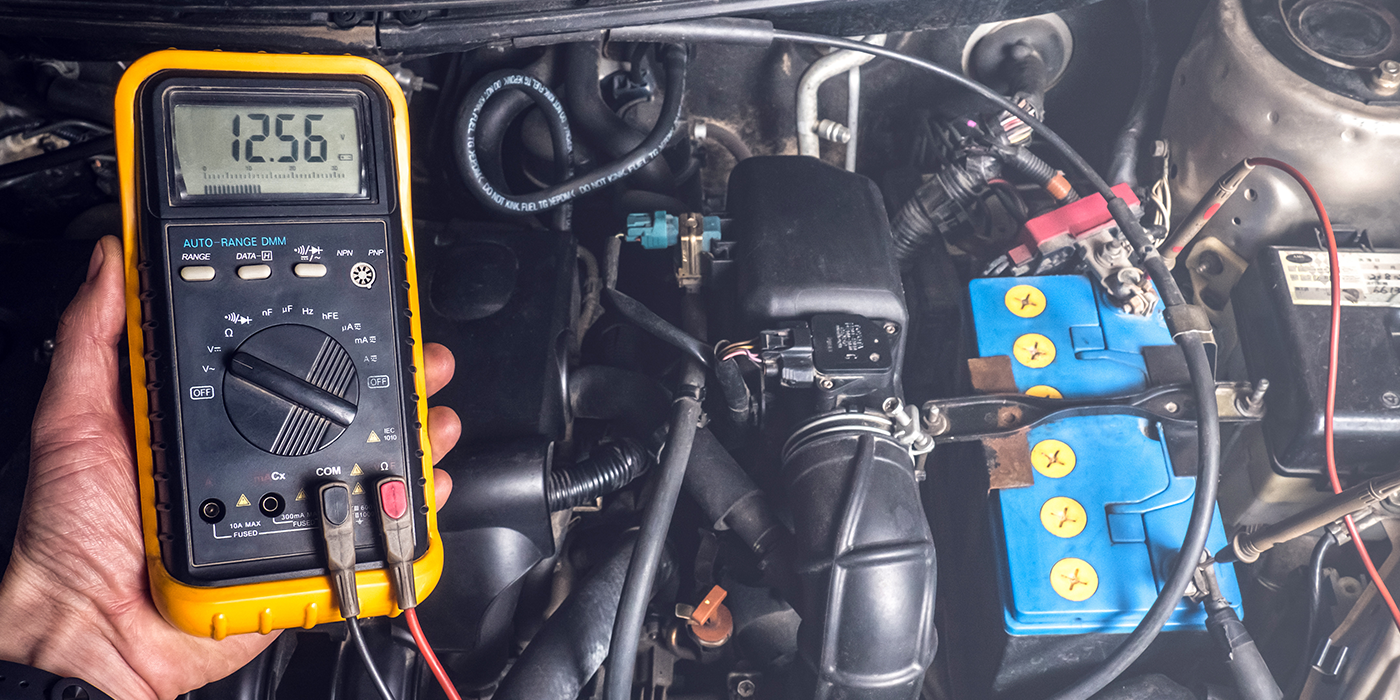
Back in the day, a technician could carry out most electrical diagnostics with just a test light. Every voltage value was 12 volts, and the most sophisticated component might be the ignition module. Things have changed. Modern voltages can be three-, five- or 12-volts and they might have a pulse width modulation. These signals move a ton of information. The flickering of a test light or dancing of digits on a multimeter could be serial data to command a window down or just a faulty ground. Also, the slightest amount of green corrosion or high resistance can set codes.
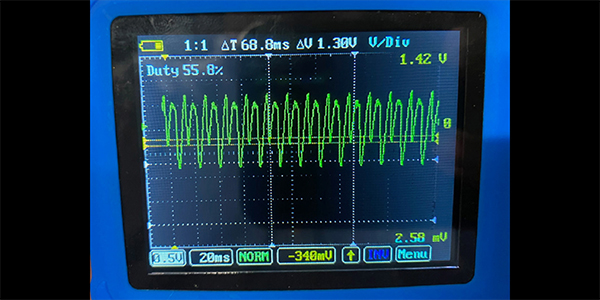
Being able to capture a signal, voltage or glitch is critical to diagnosing many problems and codes on a vehicle. Connecting a multimeter or scope to a circuit is sometimes very difficult. Making the connection in the least invasive way possible is critical to achieving a confirmed diagnosis.
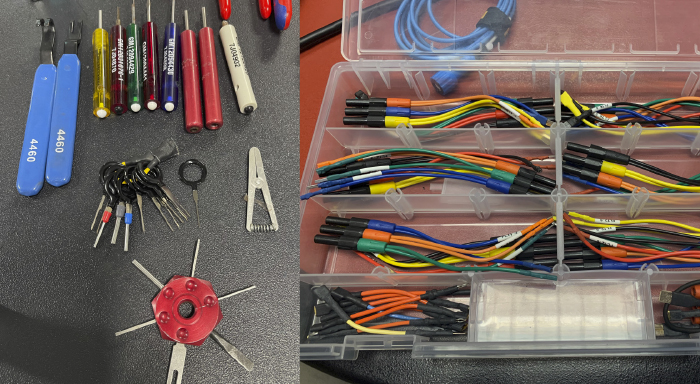
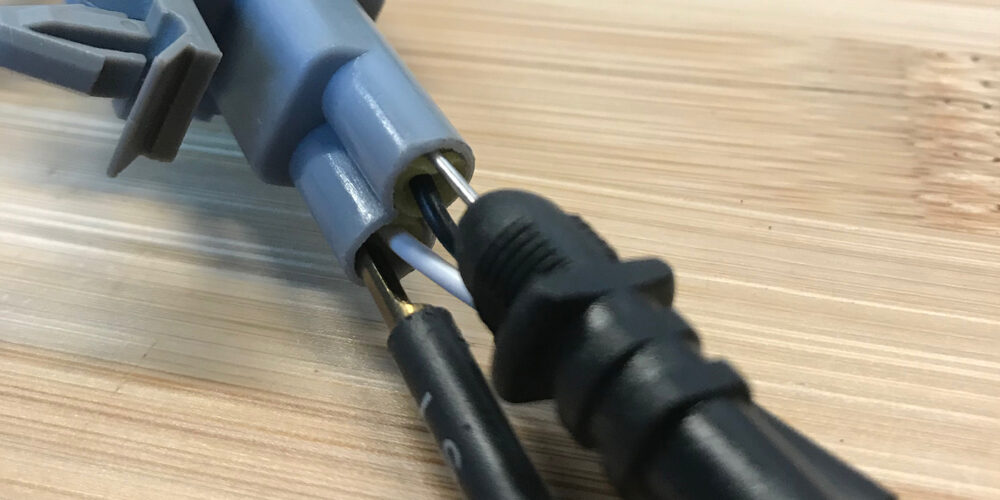
T-pins and needle probes have been around for a long time. These can be inserted into the back of a connector to back probe the connection. The best way to use these is to slide the pin between the connector housing and weather pack grommet. If there is no grommet, you can slide the pin gently into the insulation. There is no guarantee of the contact being made between the pin and wire. Also, there is no way to know if the pin is damaging the terminal. But, back probing with a pin might be your only option. Specialty back probes will have a small diameter and create less leverage on the connector. Some back probes have a rounded spade profile that can be used on small diameter wires.
Piercing probes are designed to perforate the insulation of a wire with a needle. The needle can be spring loaded or screwed down into the wire. This type of connection might be the best option if a sensor is buried deep inside an engine or a connector is inaccessible.
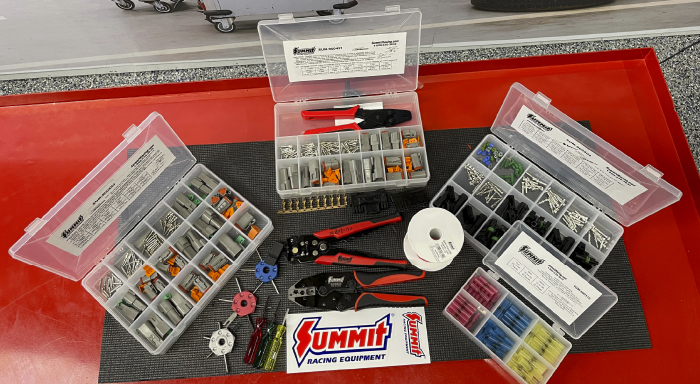
One of the least invasive ways to connect to a circuit is a breakout. These can be attached inline or as a test point so that a scope or multimeter can measure the circuit. Some breakouts can be connector specific, like those for an oxygen sensor or OBDII connectors. Breakout test leads can mimic the male and female terminals in a connector. These can be purchased as a kit and will have adapters to connect round and flat blade connectors.
You can also build your own breakout harness for oxygen sensors. All you need is a part called an oxygen sensor harness extension. These are sold by performance parts sellers for customers who have installed a long-tube header and the collector and bung have been moved further down the pipe.
Breakout leads can do the least amount of damage to the wiring and possibly the terminals, but they can also introduce a wild card into your diagnosis if you are not careful. In many cases, the connector is the source of an electrical problem. Disconnecting and reconnecting a connector might clear up a bad connection for a short time. This is why it is always a good idea to inspect both sides of the connector when you first pull it apart.
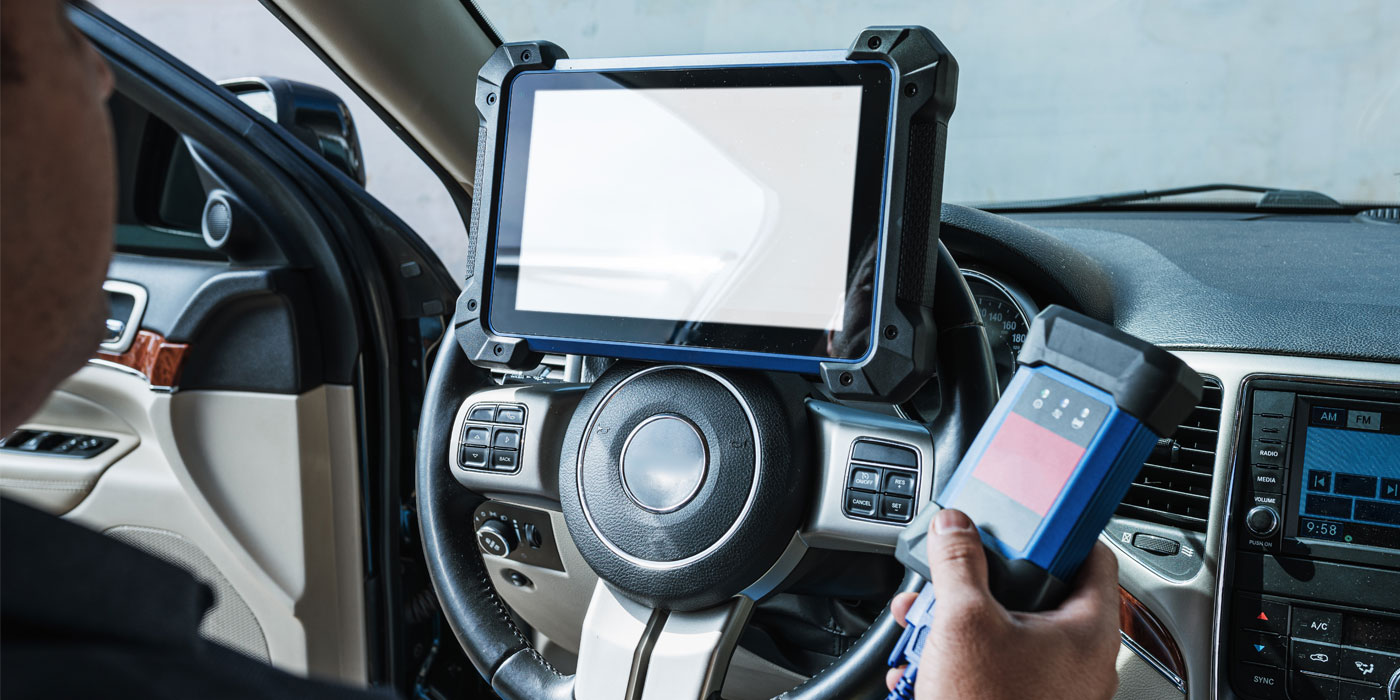
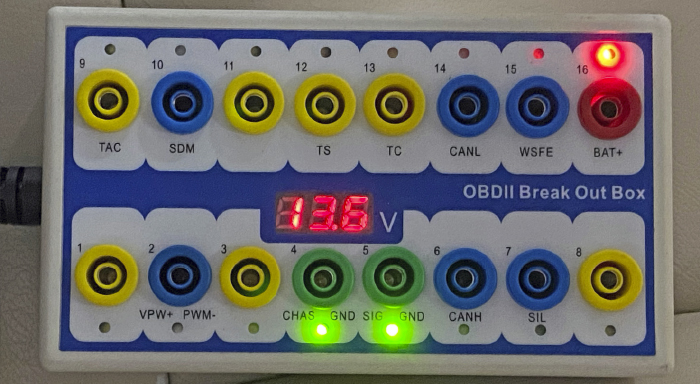
The one breakout box a diagnostic technician should own is an OBDII breakout. The first advantage of the box is that you do not have to be in the driver’s footwell trying to put a lead into the OBDII DLC. All 16 pins can be tested from the comfort of the driver’s seat. With just a glance, you can see if the serial data buses are operating and most breakouts will include a display for system voltage.
Even if a doctor saves a life, there might be scars left behind by a scalpel. But, the sign of a good doctor is a less noticeable scar that heals. The same is true for wiring harnesses and technicians.