The Chevy Volt at the wheels is nothing more than a Chevy Cruz. But, the similarities end under the hood at the master cylinder.
Pads & Rotors
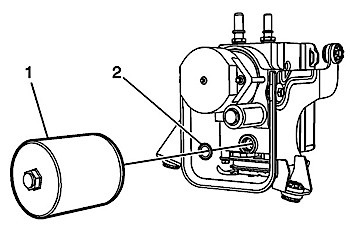
There is nothing special about pad and rotor replacement on the Volt. The only precaution is to make sure the High Pressure Accumulator (HPA) is depleted.
To deplete the HPA, the transmission must be in the PARK position, the power button in the OFF position, and the brakes not applied to ensure HPA pressure relief occurs. This process will take approximately 1 to 3 minutes.
The HPA can also be depleted with the ignition OFF and the brakes cool. Apply the brakes 3-5 times, or until the brake pedal effort increases significantly, in order to deplete the brake booster power reserve.
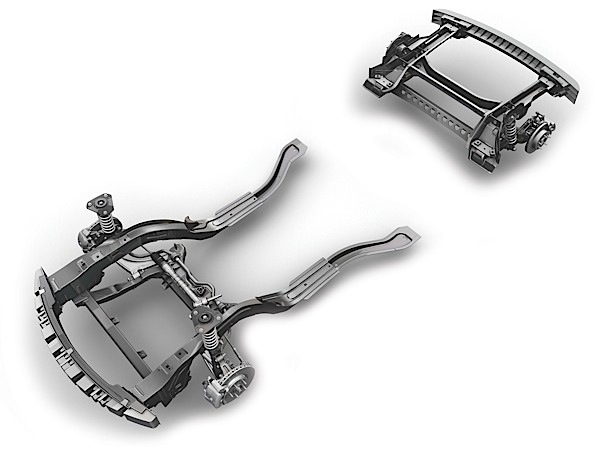
Due to regenerative braking, the brake pads and rotors will last a long time. This is why it is critical to use a high-quality brake pad.
It the rear brakes are dragging or making noise, check the condition of the emergency/parking brake in the hat of the rotor. If there is pitting from rusting, the rotor must be replaced. Do not attempt to machine the surfaces.
Brake Bleeding
The system can be bleed manually or with a scan tool to bleed the HCU and master cylinder.
Bleeding Sequence
1. Left front
2. Right front
3. Left rear
4. Right rear
Brake Pedal Feel Simulator
For the regenerative braking to work, the pressure applied to the brake pedal is measured by the system to generate braking force with the generator and charge the batteries. The system tricks the driver into thinking they are applying convention hydraulic brakes.
On the pedal is a travel sensor and there is a pressure sensor to measure force. To allow operation of the pedal feel simulator, the brake modulator assembly energizes and then closes the Normally Open (NO) valve to direct brake fluid only to the pedal feel simulator. The brake modulator also energizes and opens a Normally Closed (NC) valve to allow brake fluid to escape from the backside of the brake pedal feel simulator to the master cylinder reservoir, allowing the simulator piston to move.
The pedal feel simulator incorporates a spring which causes increasing brake pedal effort and feedback through the master cylinder, providing brake pedal feel to the driver. Based on the amount of braking force requested by the driver and sensor data inputs of fluid pressure throughout the brake modulator assembly passageways, the modulator uses a boost valve to continuously provide the optimal fluid pressure for use by the wheel apply circuits.
The modulator assembly uses the boost valve to both build and relieve pressure within the wheel apply circuits. The boost valve meters the flow of pressurized brake fluid from the HPA to build pressure and relieves pressure as needed by venting fluid through the energized, and open, NC valve to the master cylinder reservoir. The brake modulator assembly also controls various valves in a way similar to a traditional brake modulator to blend and modulate delivery of brake fluid to the wheel apply circuits, to achieve optimal balance and brake system output performance.
Brake Pressure Sensor
The Volt uses several brake pressure sensors mounted in the Hydraulic Control Unit. The brake pressure sensor doesn’t require calibration often. Calibration of the brake pressure sensor might be required after certain service procedures are performed.
Parking Brake
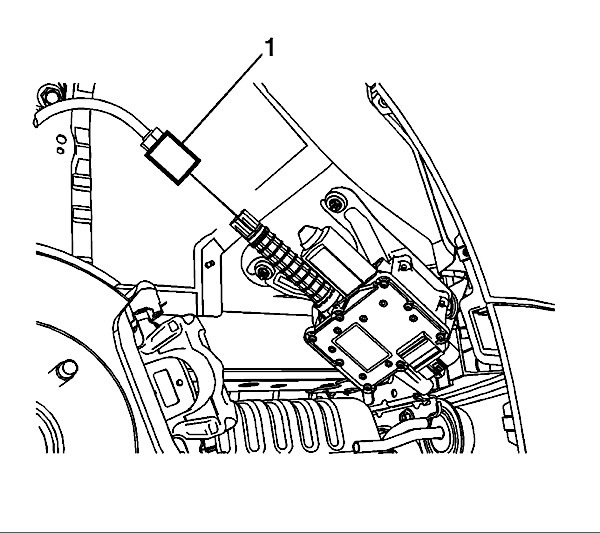
Park brake apply input force is received by activating the Electronic Parking Brake (EPB) switch signaling the EPB control module, and transfers an evenly distributed force through the parking brake cables and equalizer to the parking brake apply levers. The electric parking brake can be used to prevent roll back for vehicles with a manual transmission taking off on a hill; a situation where no roll back is desired.
Tension can be fully released from the park brake cables to allow for service of the park brake system. The tention in the cable can be released with a scan tool or manually.
Method 1
1. Turn the ignition switch to the ON/RUN position with the engine OFF.
2. Place the automatic transmission in PARK or manual transmission in NEUTRAL, as equipped.
3. Apply and hold the brake pedal. The brake pedal must remain applied throughout the park brake cable tension release process.
4. Press and hold down the electronic park brake (EPB) switch approximately five seconds.
5. Observe the PARK BRAKE lamp on the instrument cluster.
6. When the PARK BRAKE lamp flashes, release then immediately press and release the EPB switch. The parking brake cable tension is fully released.
7. Release the brake pedal.

Method 2
In the event you need to release the EPB and the battery is dead, the following procedure may be used to release the brakes:
1. Remove the left rear tire and wheel assembly.
2. Remove the left rear wheelhouse panel liner.
3. Remove the protective plug (1) from the EPB manual release.
4. Using an appropriate square-drive tool, rotate the mechanism clockwise until the tension is fully released from the parking brake cables. Up to 50 turns may be required until the parking brake cable tension is fully released.


